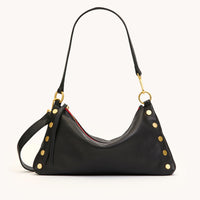
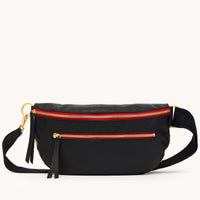
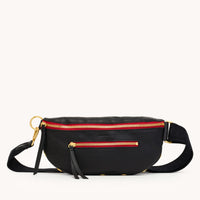
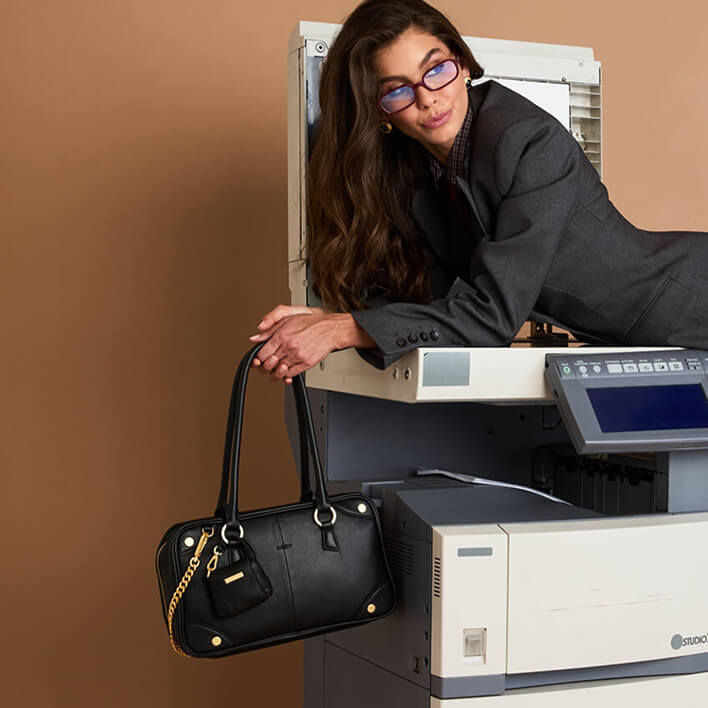
Our designer leather bags are near and dear to us because they are not only reliable and durable but also pretty much go with any outfit on any occasion.
Because of this, leather is a great investment because it pays for itself over time with the quality you receive from each use.
However, sometimes our leather has a little bit too much fun and will get dirty with those dreaded stains.
Stains happen, whether it’s from a mysterious handprint from a toddler, food, or even the elements, it’s just a fact of life.
But we are all about preserving the things that we love, and we want to help you clean and preserve your leather as best you can.
However, you may be worried that cleaning your leather goods by yourself may ruin it, and you certainly can if you don’t follow tried and true leather cleaning guidelines.
So, before you dare think about throwing away that beautiful leather handbag with an unsightly stain, let us walk you through the simple process of removing a stain from your leather.
Try Wiping It Down First
Sometimes what we think might be a deep stain on our leather can be easily cleaned with a thorough wipe-down, especially with a soft cloth like a microfiber cloth.
Before you begin the process of cleaning and removing any stains, grab a gentle cloth, and try the following:
- ONLY use a soft cloth. It may be easy to grab something nearby like a paper towel or a bath towel, but trust us— using a harsh cloth will leave scuffs and marks on your leather, thus making the problem worse.
- Dip your soft cloth in some warm water, and try getting the troublesome spot out that way to see if the stain goes away.
It may sound ridiculous to go over something as simple as doing a dry or semi-wet wipe-down of your leather, but we want to save you as much time as possible.
However, if that stain is still there staring you down after your wipe down, it’s time we get down and dirty to get that stain out.
We want to stress again and again— it’s very easy to ruin leather while in the process of cleaning it or trying to remove a stain, so definitely make sure you try this step first.
Prep The Leather
So now that you’ve realized that stain isn’t going anywhere without a fight, we’re here to prep you for the battle.
First, you need to get a nice, clean workspace to get elbow deep to sucker that stain out.
Try finding a flat, level area such as a table or a countertop. Anywhere where you can comfortably work without anything getting in your way while you go to war with this spot (or, god forbid, several spots).
Stay away from places like the floor, your bed, and the couch if you can. If you spill any of your cleaning materials, that’s just going to be a whole big mess you don’t want to deal with later.
After prepping your workspace, make sure you have the following cleaning supplies:
- Soft soaps - The general rule of thumb is to always go with an organic, natural cleaner specifically made for leather. Using anything that says “cleaner” is definitely not the way to go, because some soaps have weird oils in them, which can cause even more stains on your leather.
- Distilled and temperate water - Leather, like your skin, can feel the effects of extreme temperatures. You wouldn’t want to have boiling hot water or frigid cold water on your skin, so don’t do the same to your leather. Also, get purified water because tap can also have a lot of harmful minerals in it that may harm your leather.
- Soft and gentle cloths- Stick to gentle, soft fabrics like microfiber for the best and most gentle cleaning process for your leather.
- Conditioning balm - After you have done all the cleaning and AFTER you have let your leather completely dry, you will eventually apply an organic balm to condition the leather, which will help retain its healthy smoothness.
Now that you are prepared with your toolkit, let’s get to cleaning and removing that stain once and for all.
Clean the Leather
The time has come to start cleaning because you are going to destroy this stain.
It only takes a few steps, and you’ll be rid of that pesky stain.
1st Step - Start by mixing your cleaning materials to create some nice suds for your cleaning foam. You will use this to clean the exterior of your leather bag with.
Remember earlier when we said to do a pre-wipe down? It was to prepare it for this very reason.
Since you prepped the leather beforehand with a dry sweep, that sud mixture can really do its work to get rid of any leftover dirt.
Once you have gently rubbed scrubbed the leather with your soapy cleaning mixture, wipe it off with a soft damp cloth to remove any excess soap. If you don’t get all the soap off, it can potentially crack the leather, so make sure the leather is completely free of any soap residue before the next step.
2nd Step - Let ‘er Dry
This step is definitely just as important as cleaning your leather with your soap mixture.
You may be anxious to get your leather cleaned because, like literally everyone ever, we are impatient creatures.
But, it is so important that you let it air dry, as leather is a natural fabric that needs to dry on its own.
If you’re thinking of grabbing your hairdryer to speed up, girl, put that thing down right now.
Using extreme heat can cause your leather to dry out and crack, which isn’t the best look.
So, take it from us, leave that hairdryer alone and just wait it out till the leather dries, as tempting as speeding up the process may be.
3rd Step - Rub with a Protectant Conditioning Balm
Now that time is up, and your leather bag is completely dry (and you definitely did not use a hairdryer to get it that way), you can now start conditioning your leather with a conditioning and protectant balm.
Like anything that can get dry, like our hair, nails, and skin, you need to condition it as much as possible to keep it healthy.
The same applies to leather. Especially after having used a soft soap, it may start to dry out because no soap is completely free of drying agents.
Before you decide to slather your leather with your balm, start off with enough to cover the top of your index finger and start to work all over the bag. A little bit goes a long way, and you don’t want your leather to get greasy..
When working the moisturizer into your leather, be sure you pay close attention to hidden areas like handles, straps, and corners on handbags.
We know, we know— you’re going to hate us when we tell you this again, but you need to let your leather dry again. The leather needs time to absorb the balm, so it is completely worked into the leather.
This shouldn’t take more than about 10 minutes, and the neat thing about this process is that you will be able to see the leather absorb it once you put it on— neat, right?
That should hopefully keep you preoccupied and take your mind off having to wait again for it to dry.
But trust us, you’ll be glad that you did.
After this process, there should be no stains present on your leather, and you will be the reigning champion against the elements that challenge to tarnish your leather products.
However, some stains put up tougher battles than others, so you may need some additional reinforcements.
If you’re still dealing with trouble spots that won’t come out during the process, be sure to look up some gentle and organic leather stain removers and make sure you read all the reviews.
However, with the process we described, you’ll definitely be able to get out most, if not all, of your leather stains.
How to Avoid Stains In The Future
The best way to avoid getting stains on your leather going forward is to invest in a protecting balm that you regularly use on your leather to not only give it a renewed life but to protect it from future stains.
When looking for the best protectant balm for your leather, be sure you are looking for the following ingredients:
- Beeswax
- Seed oils
- Lipids like natural fats
All of these ingredients are naturally occurring, so they are natural to use on your leather.
Also, be sure that you NEVER, EVER use the following ingredients when cleaning or trying to protect any type of leather:
- Alcohol - Although alcohol is a great disinfectant, it will most certainly do more harm than good on your leather. Because of its harsh chemical make-up, it is also a stripping agent, which means bad news for your leather’s color and texture. Also, if you use alcohol-based products regularly on your leather products to get it germ-free, it can cause it to dry and crack.
- Acetone - Another really bad chemical for your leather is acetone, the same ingredient in nail polish remover. If knowing that fact alone doesn’t make you want to keep your leather products locked up and far, far away from it, we'll be happy to explain why it’s definitely not good to use. Acetone destroys the grain side (aka, the upper wear layer) of leather, as well as the tanning and fiber structure of the leather itself. This causes it to crack and become brittle, which will all know is NOT a good look for your leather products.
- Baby wipes - Just because they’re good and refreshing on your skin does not mean they will be good or refreshing for your leather. In fact, baby wipes can even damage your leather no matter how “natural” your wipes may claim to be. Through seemingly quick and convenient, trust us, just leave those baby wipes alone.
- Bleach - Nope, nada, no way. Definitely stay away from this stuff. Even if bleach pretty much kills everything, it can most certainly destroy your sacred leather by discoloring it or drying it out.
Regular Maintenance for Your Leather
See? You don’t have to ruin your leather when you attempt to get the stain out, especially if you follow our helpful guide and know how to properly clean.
If that set-in stain is still giving you problems after you clean, it’s always recommended you take it to a professional cleaner so they can take a look at it and evaluate whether it needs a specific cleaning agent.
However, most stains on leather will come out after a deep cleaning and a polish.
Let’s recap that stain removing process one more time:
- Give your leather a good wipe down - Sometimes, what we think are stains can be easily eradicated by a simple dry wipe with a soft cloth around on the leather exterior.
- Prepare a clear workspace for you to clean - Make sure you have a clear, flat surface to work on when you start the cleaning process like a tabletop or counter.
- The actual cleaning process - Once you have all of your cleaning materials, create a soapy mixture that you can gently, and we mean very gently, scrub across your purse. Wipe away excess, let air dry, and then apply a conditioning and protectant balm.
- Avoid old wives’ tales about cleaning leather - Just because your sister’s hairdresser’s boyfriend’s aunt swore it worked, don’t risk using harmful cleaners like alcohol, nail polish remover, or baby wipes.
Sources:
https://www.cosmopolitan.com/uk/fashion/style/how-to/a35964/how-to-clean-a-leather-handbag/
https://www.merrymaids.com/cleaning-tips/diy/how-to-remove-stains-from-leather/

